Installing Luxury Vinyl Plank Flooring- First Phase of Finishing my Basement
This post is sponsored by Tarkett NA; however, all thoughts and opinions are my own.
With another baby on the way, I am really eager to maximize the square footage in my house. My basement has been sitting, unused (except for storing Christmas decorations), since I moved into the house. Turning this area into livable space would make my house feel twice as large! Finishing a basement is a big project, especially when it’s all DIY! My goal is to have the whole space finished before the end of the year (baby #2 is due in December). I’d love to use the space as a home gym, playroom and office/workspace. I’m going to cover my basement remodel in a series of blog posts, starting with this one showing the process of installing luxury vinyl plank flooring by Tarkett.
Tarkett ProGen is a revolutionary flooring product that’s designed to be incredibly durable and easy to install. It’s waterproof, and it holds up beautifully against temperature changes and sunlight, which makes it the perfect choice for basements and sunrooms.

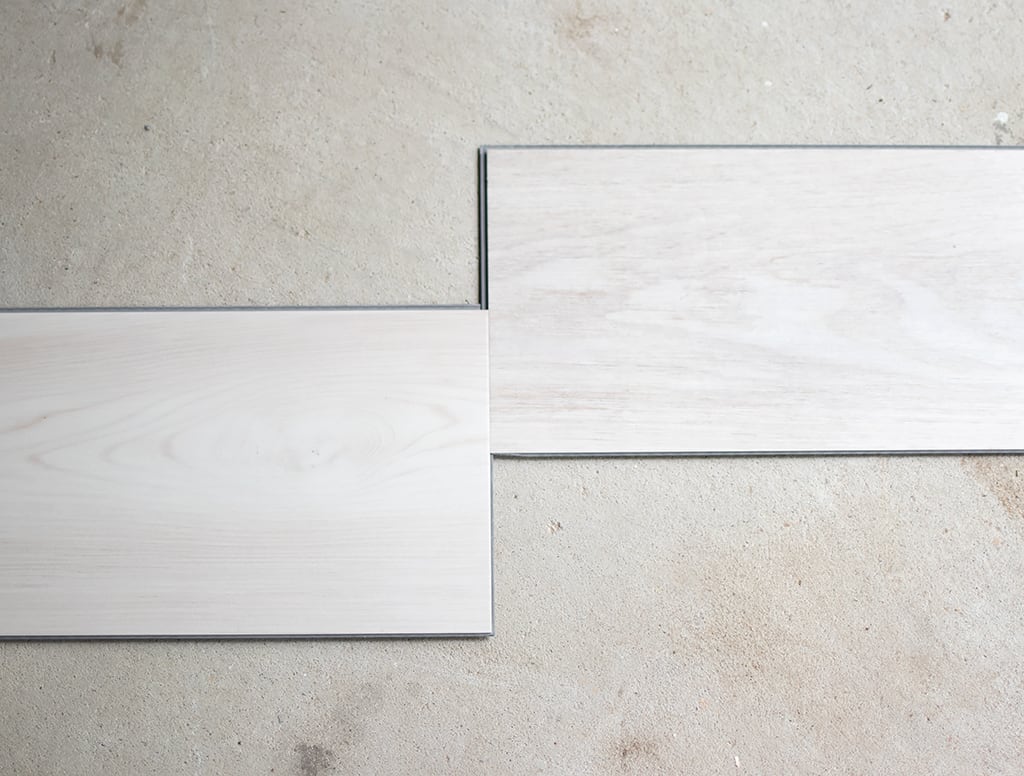
The color I chose was Alder Cashmere Arbor White. The planks look even more beautiful in person! They have a realistic wood grain and the variations in color compliment each other perfectly. Each box contains enough flooring to cover 28.6 sq feet.
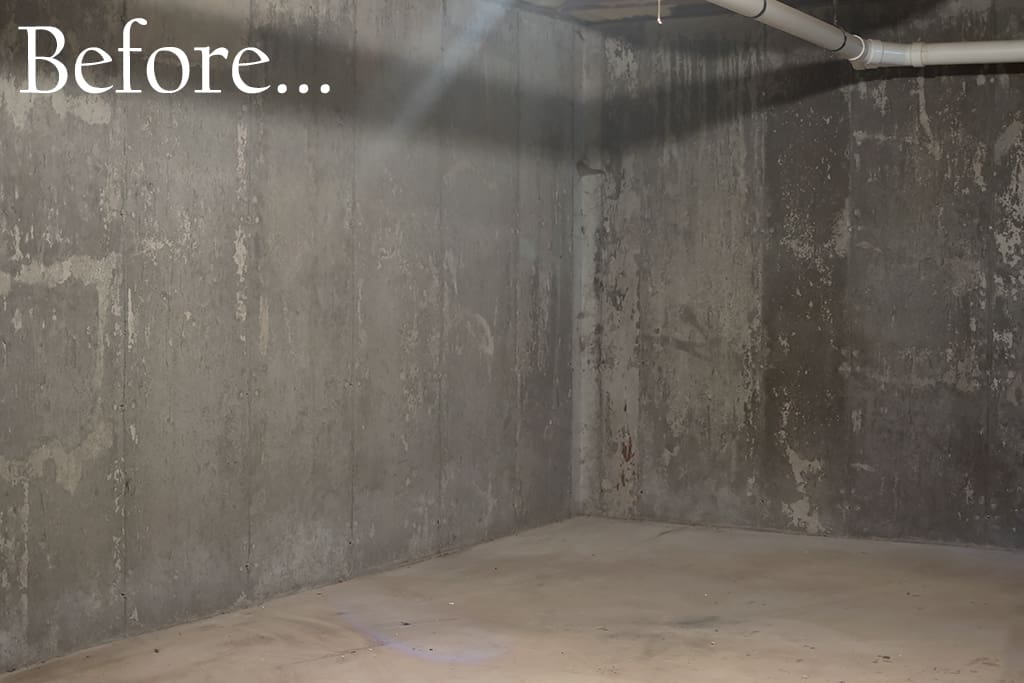
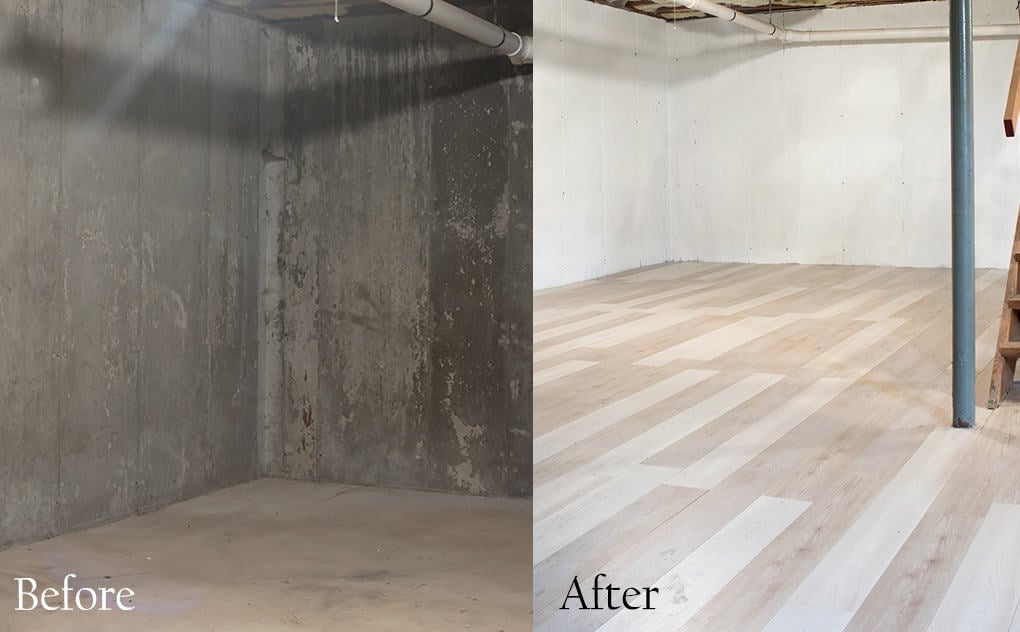
Here’s a before shot of my basement. It was plain, drab and the flooring had various paint splatters from a previous resident who used it as an art studio…not exactly welcoming or comfortable!
The first thing I did was paint the walls white using a waterproof paint formulated for basement walls. Luckily, I don’t have any water issues in the basement, but I figured the waterproof paint couldn’t hurt. I plan to add studs and drywall in the upcoming months, but until then the white paint was a big improvement. It instantly made the basement feel cleaner and brighter!
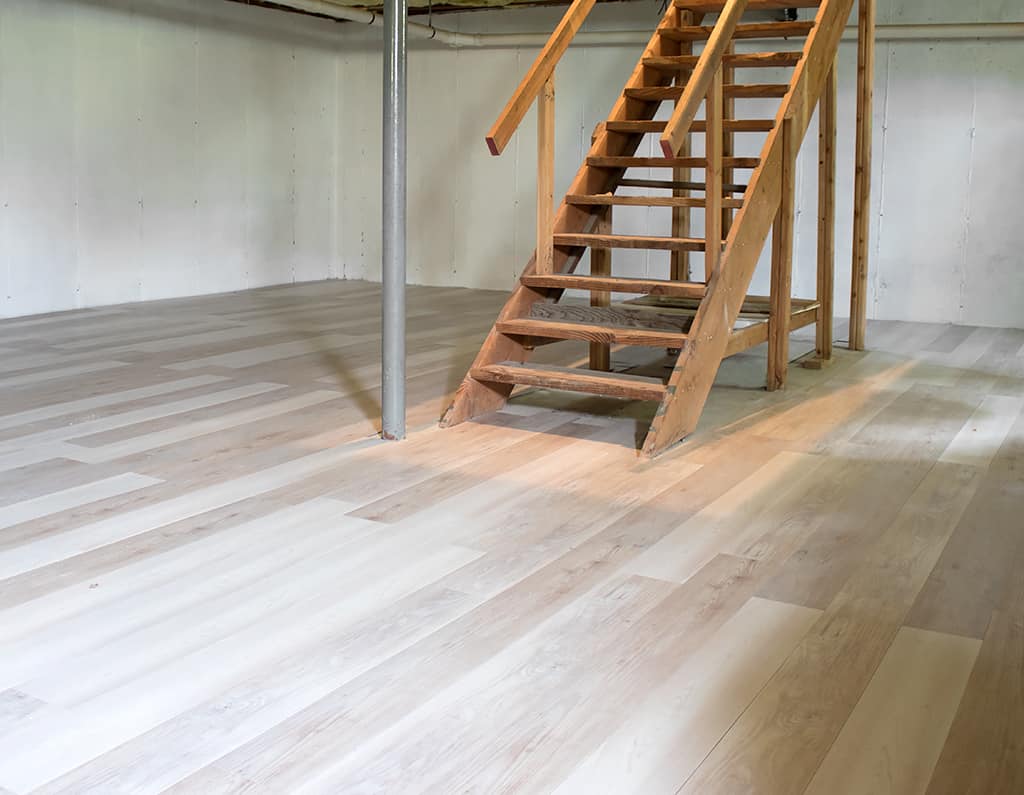
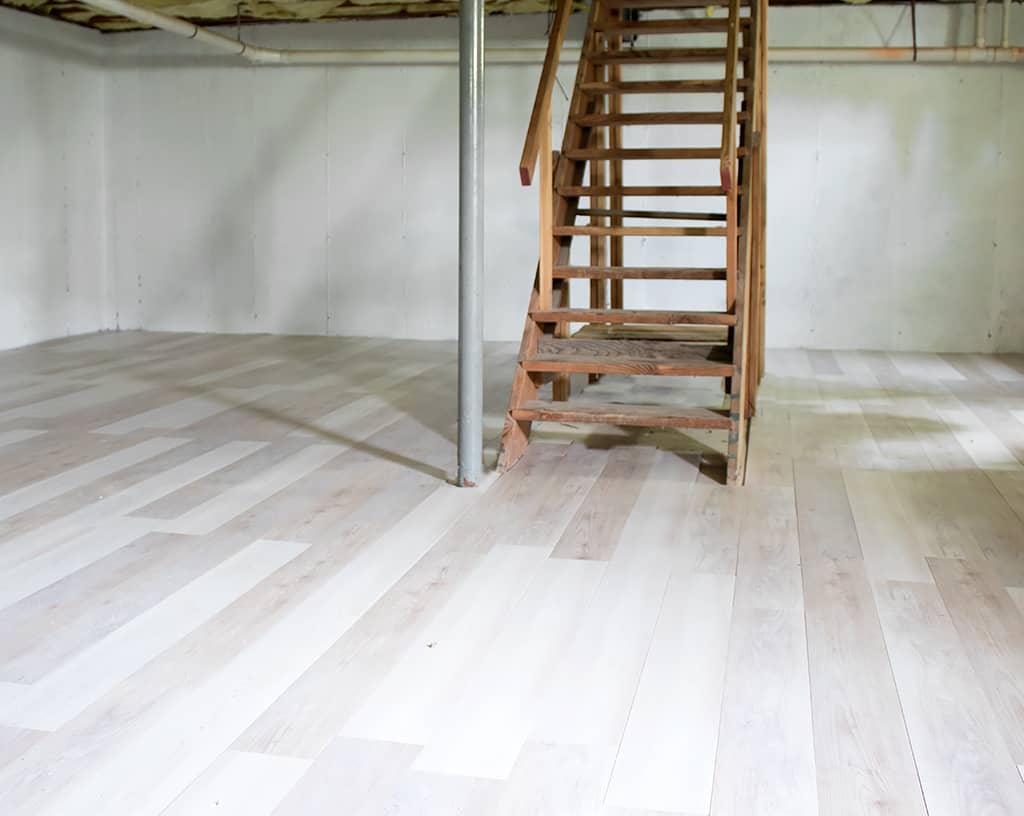
After sweeping and vacuuming the floor, I got to work laying the planks. I’m a pretty avid DIY-er, but I never put down flooring before. Luckily, the Tarkett ProGen is so easy to install! No adhesive is necessary and the flooring can go directly on top of concrete. The flooring uses a click system to install. Just slide the plank into the last one installed and push in and down slightly. You will hear a “click” when it’s locked in place. I made cuts using a utility knife. Simply score the plank, run the knife through the bend and then snap off.

Each plank is 7″ wide and 60″ long, so this flooring project moved along pretty quickly. Unlike other flooring, Tarkett ProGen doesn’t need time to acclimate, so I was able to bring the boxes into the basement as needed instead of all at once. I left a 1/4″ expansion around the perimeter of the basement and around all vertical objects.
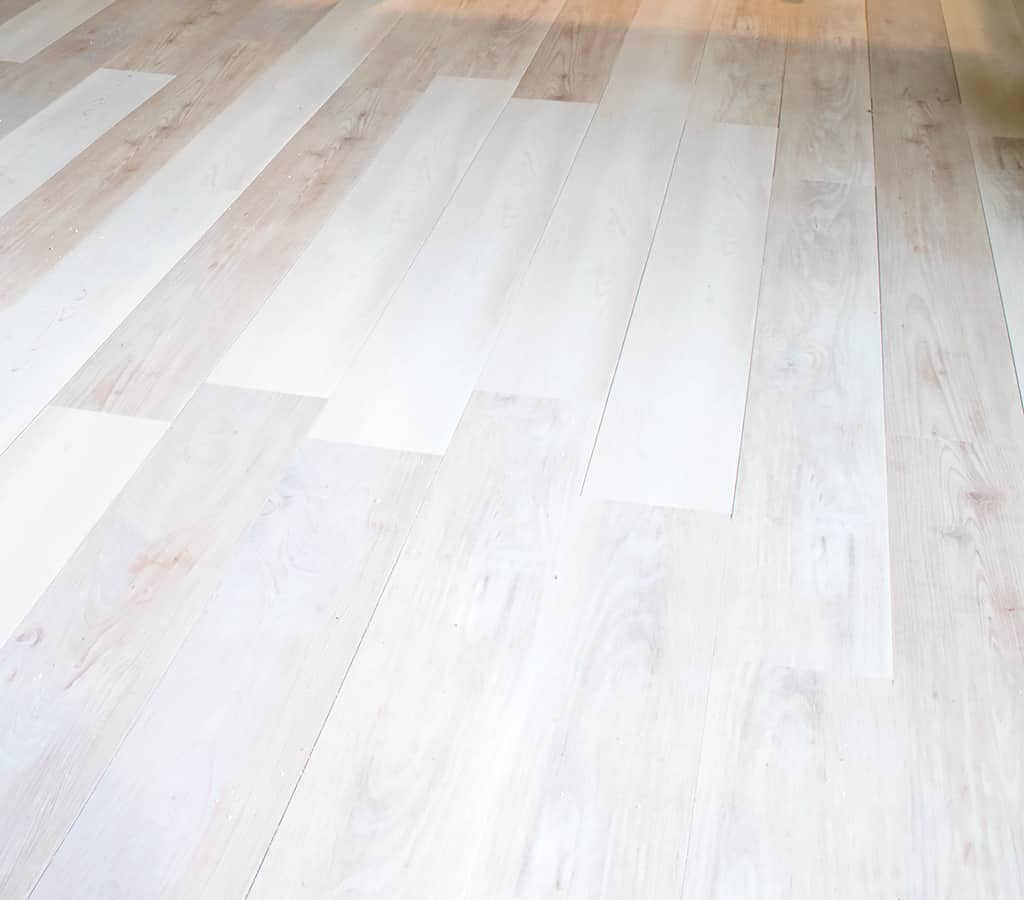
The flooring not only looks amazing, it’s wonderful to walk on! The plank feel very comfortable under your feet. I’m absolutely thrilled with this Tarkett ProGen flooring. It’s the first step in turning my basement into a livable space.
Up next? Making over my unfinished basement stairs!