How to Organize Your Yarn Stash Like a Pro
How to Organize Your Yarn Stash Like a Pro- Tame the tangle and turn your yarn chaos into a perfectly organized stash with these pro-level tips that are as fun as they are functional!
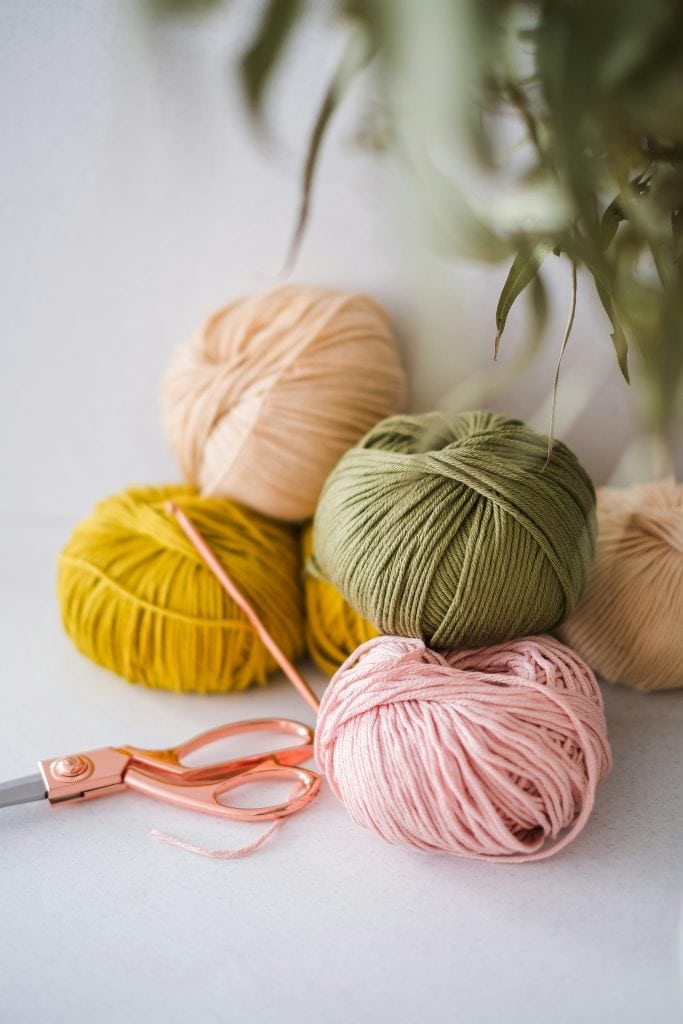
Whether you’re a knitting newbie or a seasoned crochet queen, one thing’s for sure: yarn multiplies like magic. One skein becomes ten, and before you know it, your living room looks like a wooly rainbow exploded. If your yarn stash is starting to resemble a fiber-filled jungle, it’s time to take control. Here’s how to organize your yarn stash like a pro—so you can spend less time searching and more time stitching!
KEEP IN TOUCH! FOR MORE INSPIRATION, PROJECTS, AND FREE KNITTING PATTERNS, SIGN UP FOR OUR WEEKLY NEWSLETTER:

How to Organize Your Yarn Stash Like a Pro
(As an Amazon associate, I earn from qualifying purchases)
1. Gather It All Up (Yes, All of It)
Start by collecting every ball, skein, and scrap of yarn you own. Dig through drawers, bins, project bags, and that one mystery tote in the closet. Lay everything out so you can see what you’re working with. (Spoiler: it’s probably more than you thought!)
Pro tip: If you’re a visual organizer, take a quick photo of the pile—it makes for a fun “before” snapshot and reminds you how far you’ve come.

2. Sort by Fiber, Weight, or Color (Your Call!)
Now the fun part: sorting! You can organize your yarn stash by:
- Fiber type (cotton, wool, acrylic, blends)
- Yarn weight (lace, sport, worsted, bulky)
- Color family (especially helpful for aesthetic-minded crafters)
- Project type (designate yarns for socks, blankets, amigurumi, etc.)
Choose the system that works best for how you craft. If you design patterns or frequently knit on the fly, organizing by weight and fiber can save you time.
3. Invest in Clear Storage
Storage doesn’t have to be fancy—but it does need to be functional. Clear bins, zippered pouches, and open baskets work wonders for visibility and accessibility.
Popular options include:
- Plastic drawer carts
- Cube shelving with fabric bins
- Over-the-door yarn organizers
- Labeled mason jars or glass canisters for minis and leftovers
Whatever you use, make sure it keeps your yarn clean, dry, and moth-free!
4. Label Everything
Don’t rely on memory—label your bins, baskets, and bags. Include details like yarn weight, fiber content, and brand if you have the labels. You can even use index cards, washi tape, or printable tags for a cute, coordinated look.
Feeling extra organized? Create a yarn inventory spreadsheet or app-based tracker so you always know what you have (and what you need more of).
5. Store WIPs Separately
Work-in-progress projects deserve their own dedicated space. Keep each WIP in a separate bag or bin with the yarn, pattern, and tools all together. This way, you can grab and go without digging through your stash every time inspiration strikes.
6. Donate or Destash (Yes, Really!)
We all have those skeins we’re never going to use. Be honest with yourself—if it’s been sitting untouched for years, it might be time to let it go. Donate to local schools, community centers, or fellow crafters. Or host a fun yarn swap with friends!

7. Make It Pretty (If That Sparks Joy!)
If you’re the kind of crafter who loves aesthetics, display your yarn in rainbow order on open shelves or use decorative baskets. Your yarn can double as colorful home decor—and keep your creativity flowing.
Final Thoughts
Organizing your yarn stash doesn’t have to be a chore—it can actually be super satisfying (and inspiring!). Whether you dream of a Pinterest-worthy craft corner or just want to stop losing skeins to the black hole of your closet, these pro tips will get you there.
So grab a latte, turn on your favorite podcast, and start wrangling those fibers. Your future projects—and your sanity—will thank you.
Looking for knitting stitch tutorials?
How to Knit the Zig Zag Stitch
I love seeing your finished projects! If you enjoyed making any of my free knitting or crochet patterns, I’d love to see yours on Instagram, just tag me @ginamicheleny.