
The Easiest Way to Hand Embroider Letters
The Easiest Way to Hand Embroider Letters- a simple method that any beginner can do!

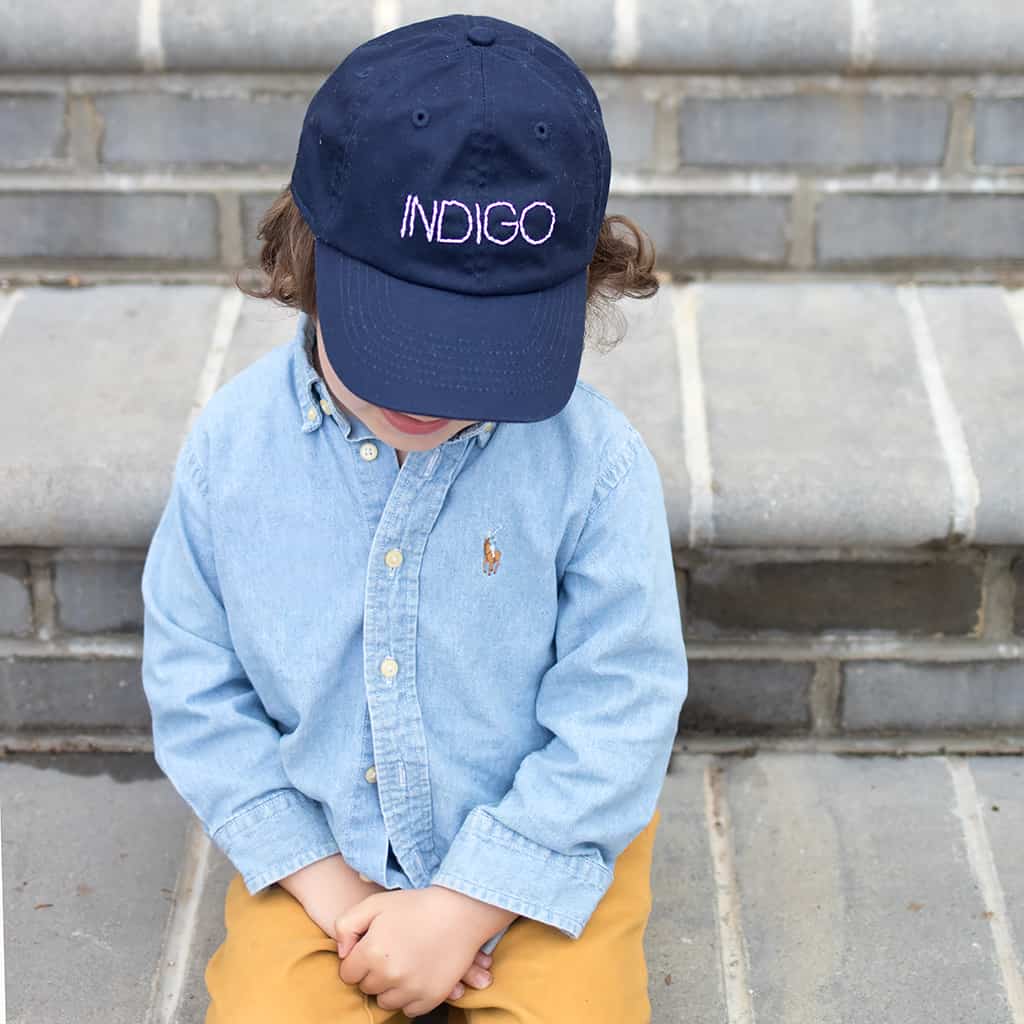
Lately, I’ve been finding all these beautiful embroidery work on Pinterest. It inspired me to give it a try and make something for Indigo. I created a pattern using a fancy, elaborate cursive font and got to work stitching on the hat. I assumed that since I’ve been sewing for years that I would be a natural at hand embroidery. Wrong! My letters looked wonky and the stitch lengths were all over the place. I ripped it out and re-did the first letter 4 times (!) and each time it looked bad.
I decided to start simple and find a hack. I found one and it made this process so much easier…not to mention enjoyable! What’s the secret, you ask? It’s this free font that gives you perfect spacing for your stitches!
KEEP IN TOUCH! FOR MORE INSPIRATIONS, TUTORIALS, AND FREE KNITTING PATTERNS, SIGN UP FOR OUR WEEKLY NEWSLETTER:
Supplies needed for letter embroidery:
Garment (if you are using a t-shirt or other soft fabric, and embroidery hoop is helpful)
Embroidery needle
Cotton craft cord or embroidery floss thread- I used craft cord for this project. It’s twisted liked rope and individual strands can’t be pulled off like you can with strand embroidery floss. The hat was a heavy fabric and I wanted the lettering to show up. If you’re embroidering something lightweight, embroidery floss is a better option because you can control how thick the stitching is.
The Easiest Way to Hand Embroider Letters
Instructions: The secret to neat embroidery is to evenly space the stitches. If you’re new to embroidery, this can be tricky. I found this free font that mimics hand stitching and it’s the perfect cheat! The letters are created using short stitches with no complicated curves.
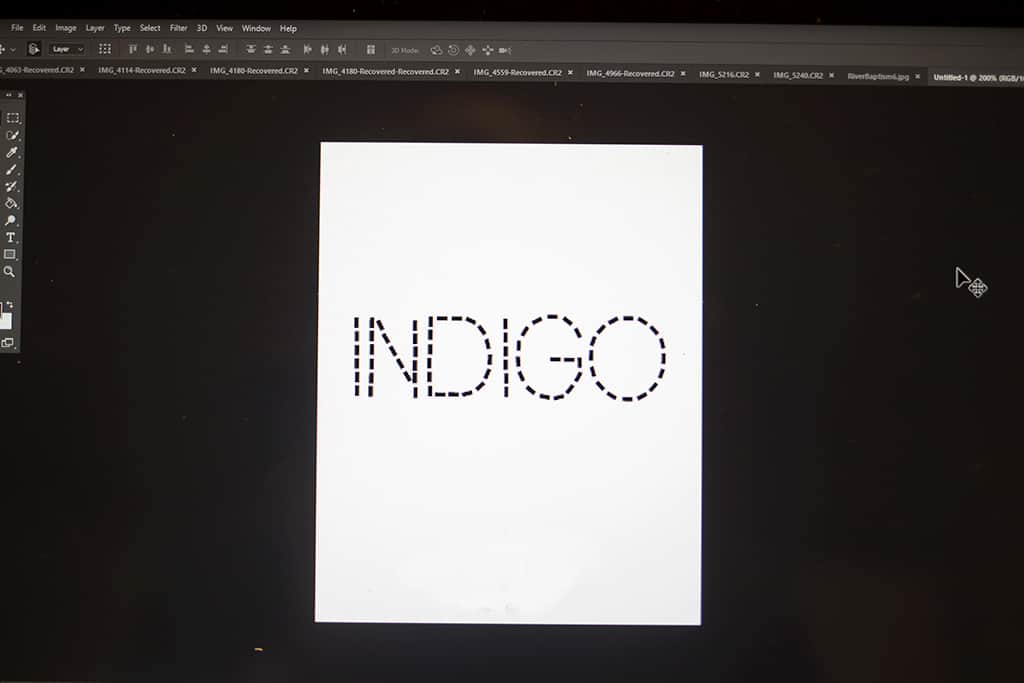
Download the font and write the name in photo editing software.
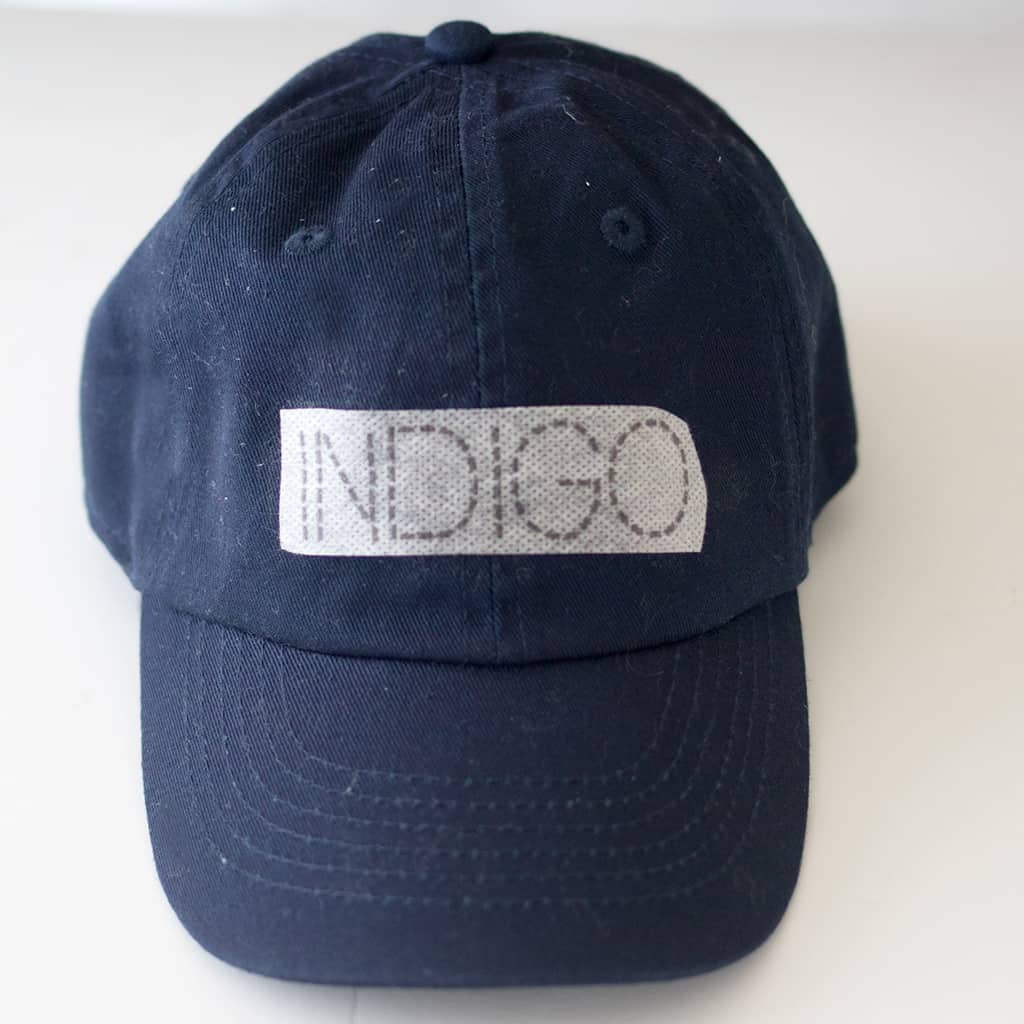
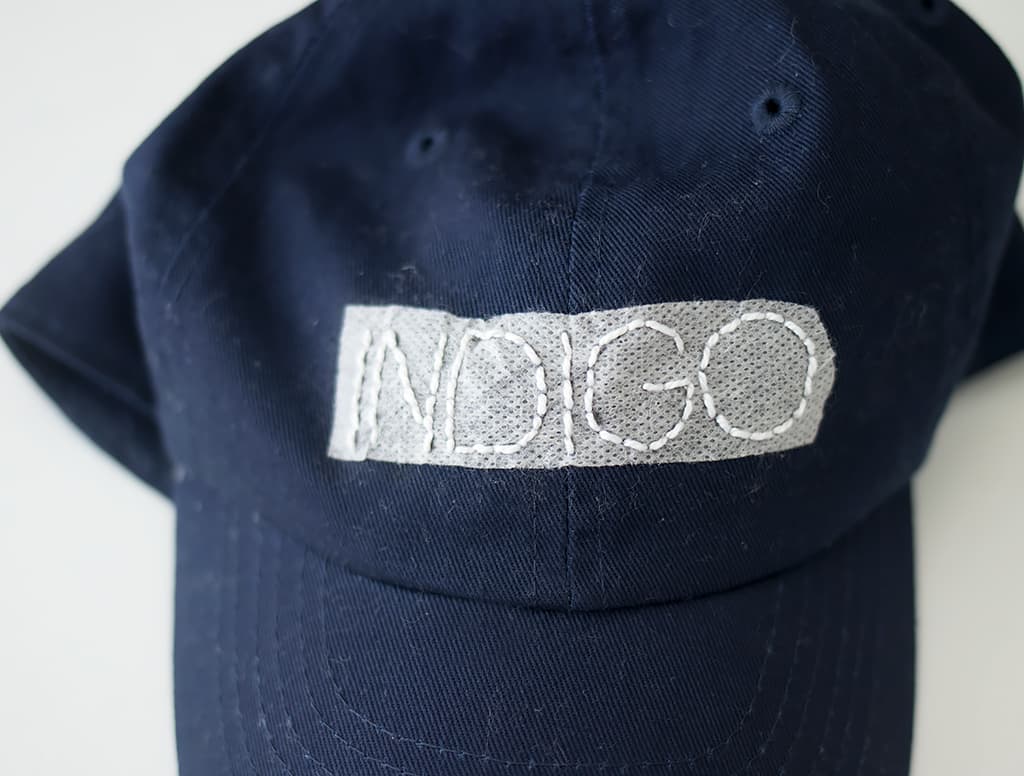
Print out the name on the Sticky Fabri-Solve. This stuff is great, easy to use and it creates a foolproof stencil! Just put it in the printer and print out your image you want to embroider. Cut down to size and peel off the back. Press it on the garment to create a template for your basic stitches.
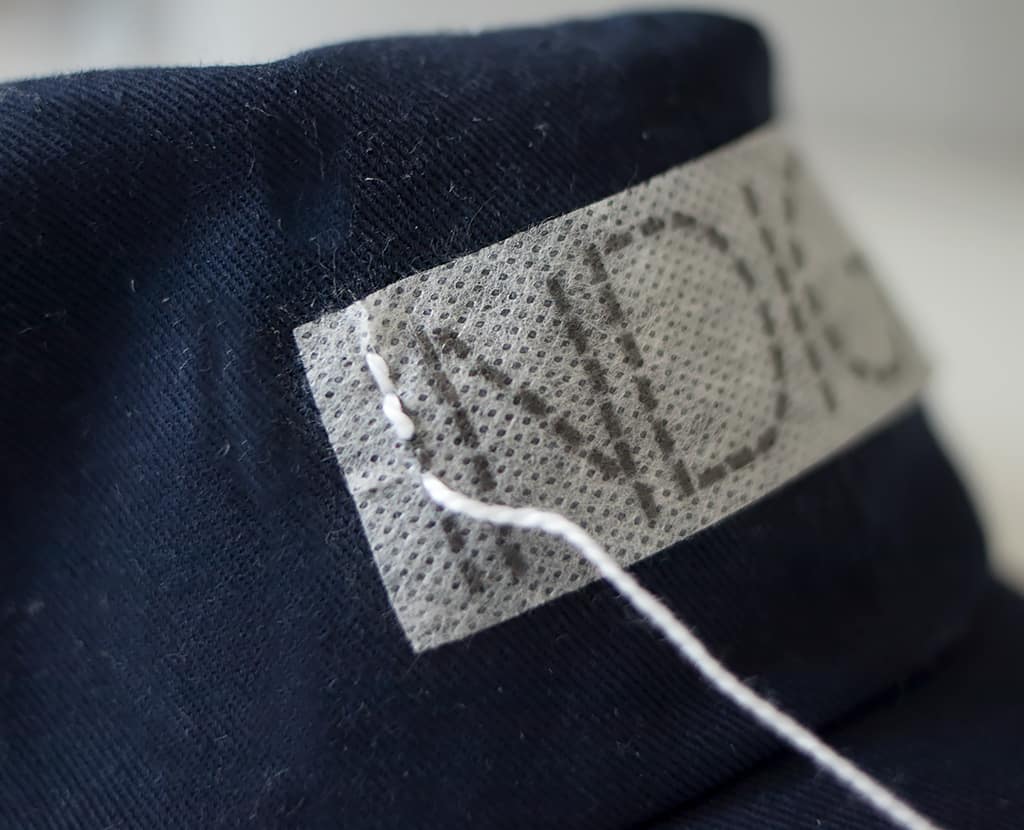
Starting stitching over the pattern. Use the dashes in the letters as a guide. There are a bunch of embroidery stitches for letters, but I think the Backstitch (click to see tutorial) is one of the easiest.
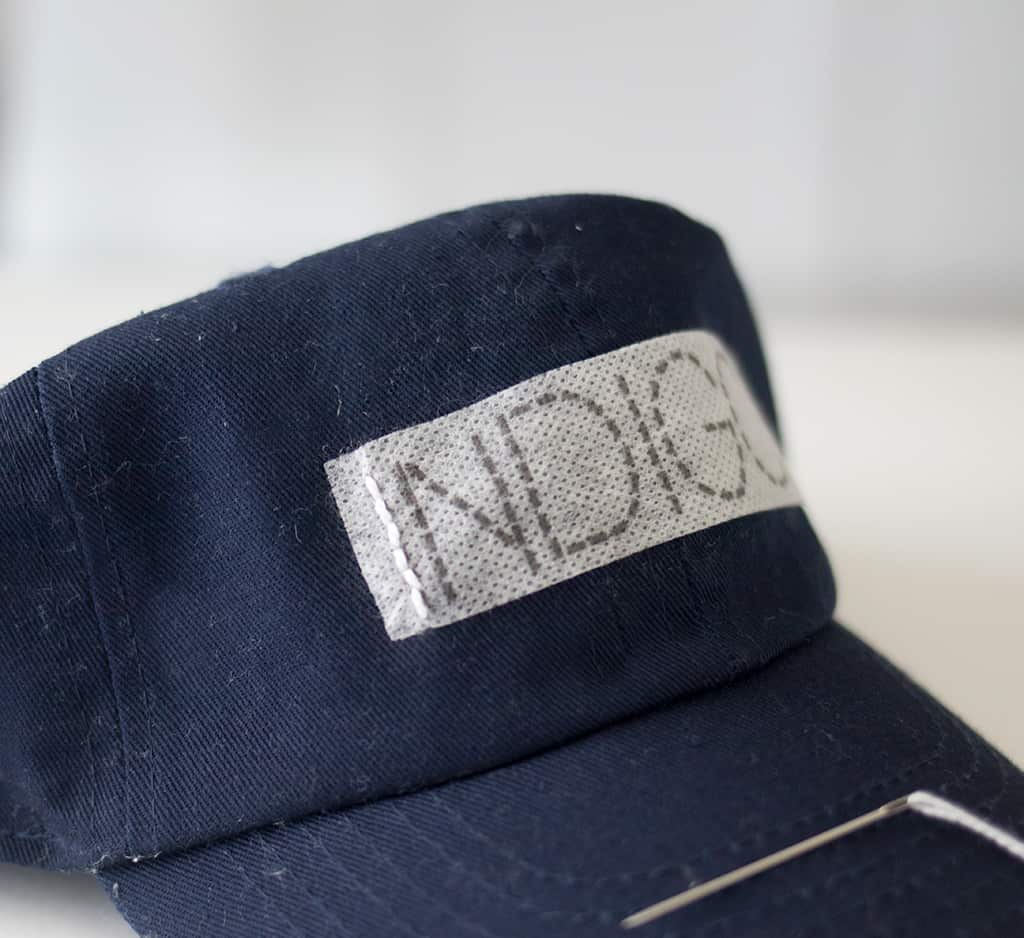
Once you’re finished embroidering the name using the back stitch, it’s time to remove the fabric.
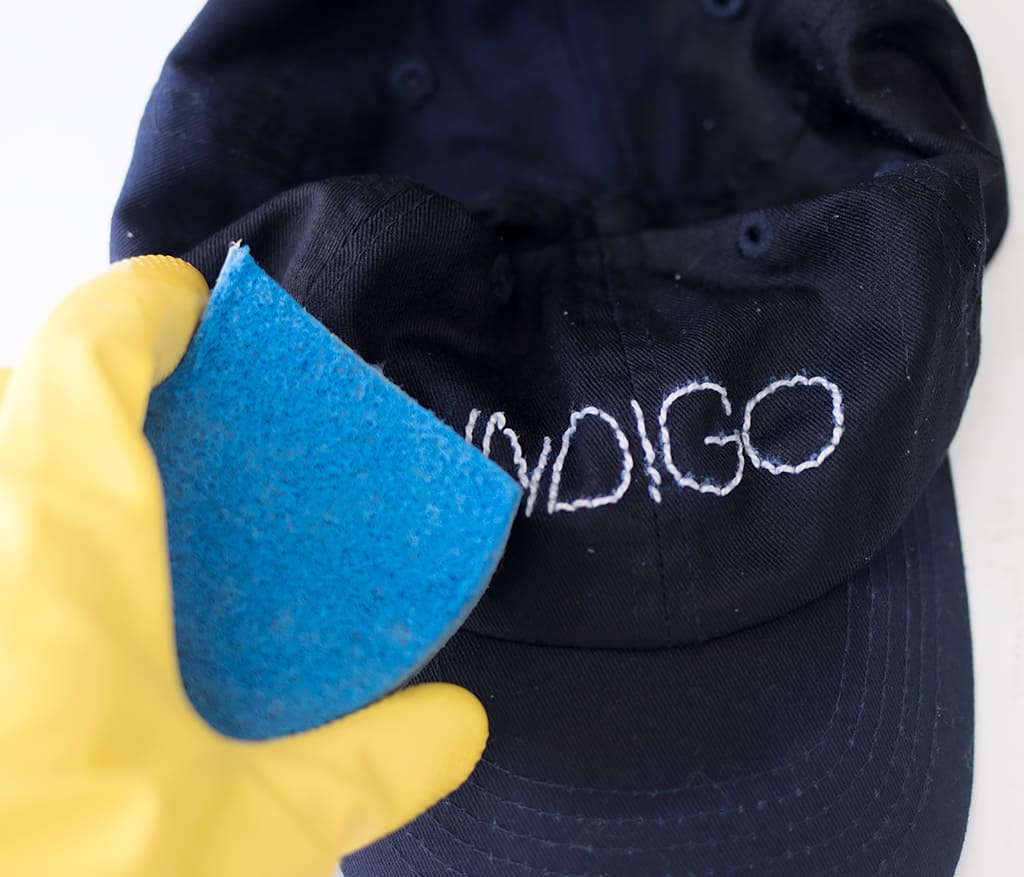
Slightly dampen the work and gently rub to remove the fabric (I used a clean sponge). In minutes, the fabric will disappear leaving behind the letters.
I hope you liked The Easiest Way to Hand Embroider Letters!
Looking for more Easy Sewing Projects?
How to Sew an Easy Beach Dress

I love seeing your finished projects! If you enjoyed making this The Easiest Way to Hand Embroider Letters, or any of my other sewing projects, I’d love to see yours on Instagram, just tag me @ginamicheleblog. Happy sewing!


love this! the style of font you used is simple but looks very cute!